0

I thought I had two identical Ender 3 V2 printers, the main board in both is v4.2.2 but it turns out they came with a different LCD screen.

I flashed the firmware on both printers to mriscoc firmware and tried to also flash both LCD screens.

DWIN

The printer with the DWIN screen worked fine, everything went smooth and instead of the original blue, flat GUI, I now look at a colorful GUI something like this:

mriscoc firmware GUI

DACAI

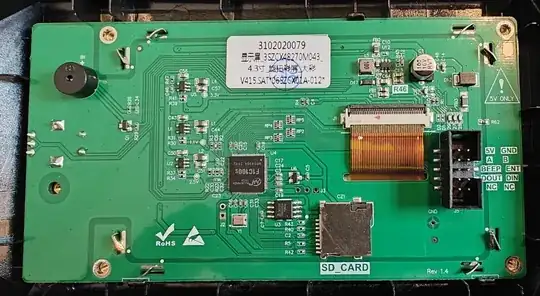
On the other printer that I identified as a DACAI LCD as per mriscoc instructions documented.

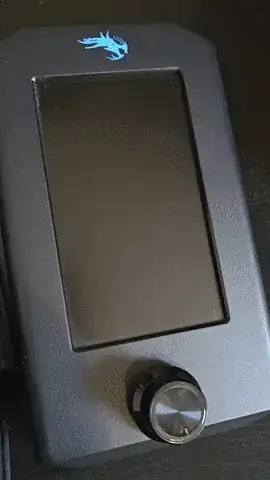
DACAI LCD photo

I then flashed the firmware and the private folder separately, as shown below, in the end you can see it fails to load. Not shown on the video but if I rotate the knob, the buttons appear on top of the load screen:

failed DACAI LCD firmware upgrade

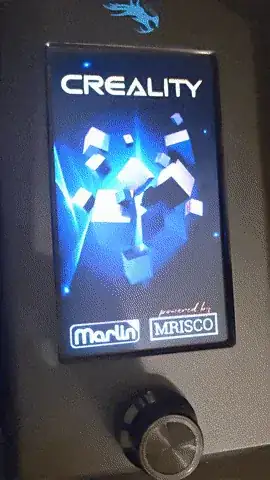
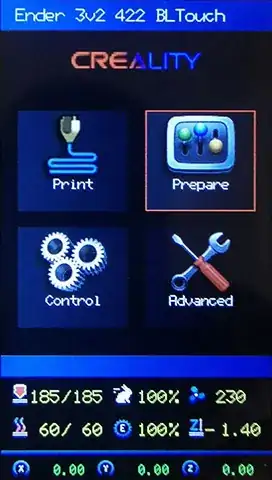
After rebooting I see this:

failed DACAI LCD firmware upgrade

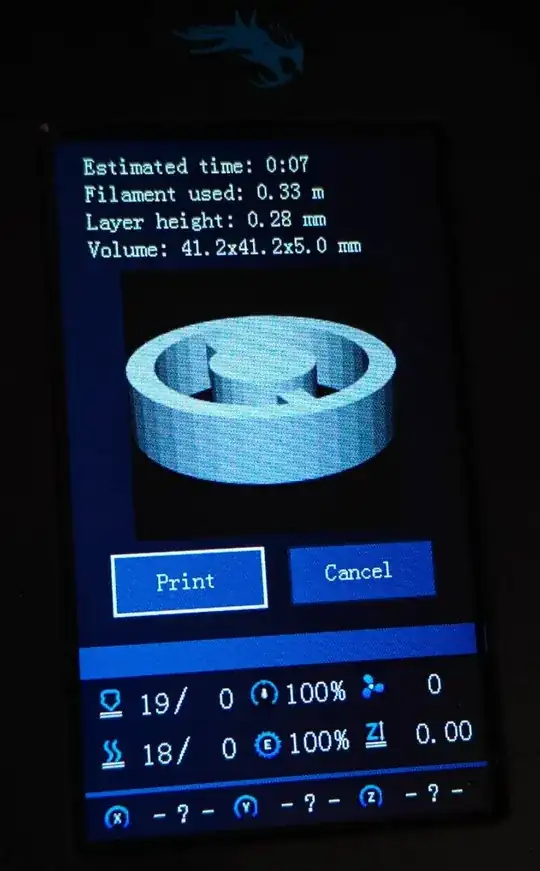
I am able to view a test thumbnail on screen, as provided in the documentation and shown below:

thumbnail preview on Ender 3 V2
using mriscoc firmware

But I expect the same colors and icons as on my DWIN screen, did I miss something?

I made sure the right cluster size was used when formatting, I tried three different SD cards and two different SD card readers, as well as unmounting from PC before removing it.

How to successfully flash a DACAI LCD screen of an Ender 3 V2 to achieve the same as on the DWIN LCD?
Bob Ortiz
  • 1,053
  • 1
  • 3
  • 29

1 Answers1

0

The process as shown in the question was all performed correctly and successfully however, simply the wrong icon set was used. The documentation isn't very clear and I should have personally documented this better when I did it months ago.

For flashing the LCD screen, the SD card will be placed in the SD card slot on the back of the LCD screen, not the printer slot.

This is what fixed it:

  • Clone the mriscoc Git repository or download latest the zip.
  • Open the folder display assets
  • Open the folder Giadej compilation for the icons I intended to use and utilize the color LCD instead
  • Depending on the screen type, follow the instructions as documented here:
    • For DWIN LCD copy only the folder DWIN_SET to the root of the SD
    • For DACAI LCD copy only the folder private to the root of the SD

Also, it's required to have micro SD card of 8GB or smaller formatted explicitly as MBR, FAT32, and with a 4 KB sector size.

For the DACAI screen specifically, I also flashed another DACAI screen firmware, also available in mrisoc Git repo: dacai_update.zip. Place the firmware.zlib file in the root of the SD card and flash.

Repower the printer after flashing both firmware and private folder. To test if the firmware and screen work correctly you can place this test gcode on the printer SD card to check if the thumbnail preview on the printer LCD is shown.

Result shown below:

mriscoc firmware with Giadej theme on LCD screen

Bob Ortiz
  • 1,053
  • 1
  • 3
  • 29